How To Shifter Cable Ends

Custom Services Crew My Links Custom Services Just Pictures In Memory of... Videos 98 Neon R/T 99 Neon Coupe Drag Car 97 ACR Neon Drag Car More Neons Other Projects Misc. Neon Info Pics Box Intakes How To Shifter Cable Ends 2.0L DOHC head porting In Memory of George Ray

How To Install Stronger Shifter Cable Ends

This is a brief how to for installing stronger shifter cable ends. Once you've complete all the following steps and have both the new cable ends installed on you shifter cables, install them in your car to make sure everything fits and works like it should. When you know everything is installed correctly and working properly disassemble everything and reassemble with alittle locktite to insure they don't come loose.

Note that some of the shifter cables and the pin on the shifter that the rod end goes on are slightly larger than normal. This shouldn't be a problem when threading the cable as long as you use some type of oil or WD-40. But for the pin on the shifter you can either force the rod end on the pin with a vise or c-clamp, or just sand the pins down until the rod ends slide on.
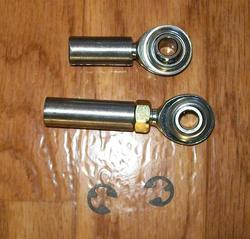
Click on pictures to view larger picture.....

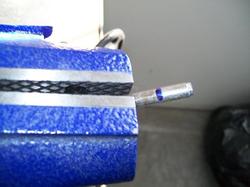
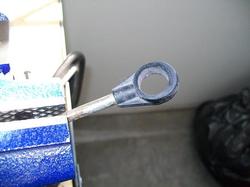
Line up the hole on the new rod end with the hole of the stock plastic cable end. Then mark the cable where the end of the adapter is. Measure 1/2" from the mark you made towards the plastic cable end and mark it again.

Cut the stock plastic cable end off at the second mark(mark closes to the stock plastic cable end) you made. 

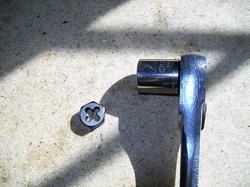
You'll need a 1/4-28 die. The die I supply with my kit just requires a 15mm socket and some oil or WD-40.

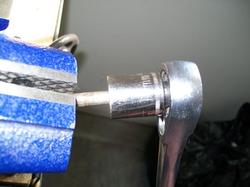
Using a 1/4-28 die thread the cable up to the first mark you made. Make sure you use some type of oil or WD-40 so the threads or die don't get damaged.

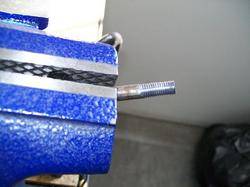
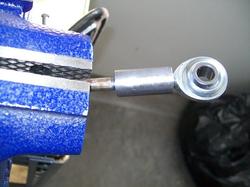
This is what the cable end should look like after you thread it.

This is how the cable end should look after you install the new cable end. Repeat all the above steps for the other cable end also.

How To Shifter Cable Ends